Voice Recorder

RECORD UNLIMITED AUDIO
Voice Recorder App – Record Unlimited Audio – is a voice recorder app for android smartphones and tablets. Due to its amazing versatility, simplicity & recording ability, you can use our voice recorder app to dictate notes and memos as well as record meeting, lecture, interview, and day to day sounds.
ORGANIZE BETTER & SMARTER
Stop typing tirelessly and taking notes by hand and start audio recording everything you need from your todo lists to a critical office memo that needs your attention. Organize better, as our smart record app lets you organize voice comments, voice memos, voice recordings and easily search sounds. Your personal and professional life organization and productivity are sure to become easier with our all in one unlimited audio voice recorder!
EASY ACCESS
This high quality audio recording app lets you record your voice fast and in high quality and find it easily so you can listen to it on your phone at any time. This audio recording app saves the recording on your phone and let’s you easily access it when you want to listen to it. No matter if it is an idea, song, thought, quote or important recording, you have it all neatly organized in one recorder app!
USE IT AS YOUR:
 speech recorder & lectures recorder to record interview, record talk or record speech
 audio notes recorder & voice memo recorder
 singing recording, music recording & song recorder
.. and so much more. Your voice recording app for everything!
Note:
– It is ads Supported and it is Free.
– Call Recording feature is currently not supported
– Updates: Keep the voice recorder app updated at all times for best performance and latest app features. Share the app with your friends who might find it useful and productive for their personal and official use.
Voice Recorder – Record Audio
ANY QUESTIONS
Frequently Asked Questions !!
I have accidentally deleted my recording. Can I retrieve the same?
• Please make sure that Enable Trash Setting is ON
• You can find it under Settings Records Enable Trash.
• In case you accidentally deleted your recording, you would be able to restore the same.
I am not able to view my recordings. How can I see my recordings?
Open app.
Click on settings, second button from the top right corner.
Select Records Settings
Check out the setting named Storage Path it shows the path where recordings are saved.
Go to internal storage using any file manager android application and search that path.
Recordings will be there.
What is the best way to protect my important recordings?
We recommend uploading your important recordings to Cloud ( example Google Drive or DropBox). There are 2 ways:
First Way (Manual)
You can use Share option in the list of recordings screens to share/upload your important recordings to the cloud like Google Drive or DropBox etc.
Second Way ( Automatic)
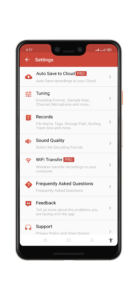
Please go to Settings.
Select Auto Upload to Cloud Setting.
Go to Auto Upload Screen
Select Google Drive or DropBox
Sign-in
Make sure that Auto save to Cloud Setting in ON.
All future recordings will be saved to the cloud automatically till these settings are enabled
Is Call Recording Supported?
No, Call Recording is not supported in this application.
What are Tags?
Tags are an important feature to help you to categorise and manage your important Recordings. Example You can create Home or Work or Personal or any other Tags and assign recordings files accordingly.
How Tags are assigned to Recording File?
You can assign Recordings to Tags in the below ways
Way One ( For Existing Recordings)
Create Tags using Recording List Screen.
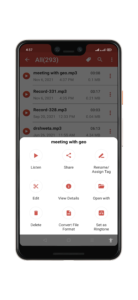
Click on the Menu Icon on any Recording.
From the menu, select Rename/Assign Tag Option.
A popup dialog will open, please select the relevant tag to map recording.
Way Two ( For New Recordings)
Create a New Recording.
Stop Recording once completed.
Pop up dialog will come, Give the Recording name and select the Tag
How Tags are created?
You can create Tags from Recording List or from Settings Screen.Please follow below steps.
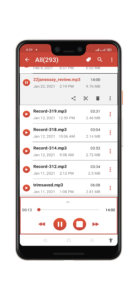
Go to the Recording List Screen.
Click the Tag Icon on the Top Right ( Third Icon from Right).
Click + Icon
Give name and click Save on Popup dialog.
How to transfer Recordings to Computer?
There are Two major ways.
Wireless Way
Go to Settings.
Select Wifi Transfer ( Pro Feature)
Open Wifi Transfer Screen Follow the Steps on the Screen to transfer Files
Using USB Cable
Connect the phone to your computer with USB cable.
Phone should be in USB or media storage mode.
Browse Phone Files from Computer
Go to “QuickVoiceRecorder” Folder.
Copy the required files to Computer.
Please note that you can also use Share Option from the Recording List Screen to share using email or other options and then download them to Computer.
What is Pro Version?
Pro Features has all the features of the base application along with below advanced features.
Pro Features.
Ad Free Experience
Auto Upload to Cloud
Schedule Recordings
Wifi Transfer
Convert File Format.
Can I schedule Recordings?
Yes, please find steps below.
1. Please go to Settings Screen.
Select Schedule Recordings.
On the Schedule Recording Screen, Click + icon on the top right.
Give Display over other apps Permission
Given name and select Start and End Time of Recording.
Click Save and confirm OK on dialog Box.
Recording will be scheduled and appear on the Schedule Recording Screen.
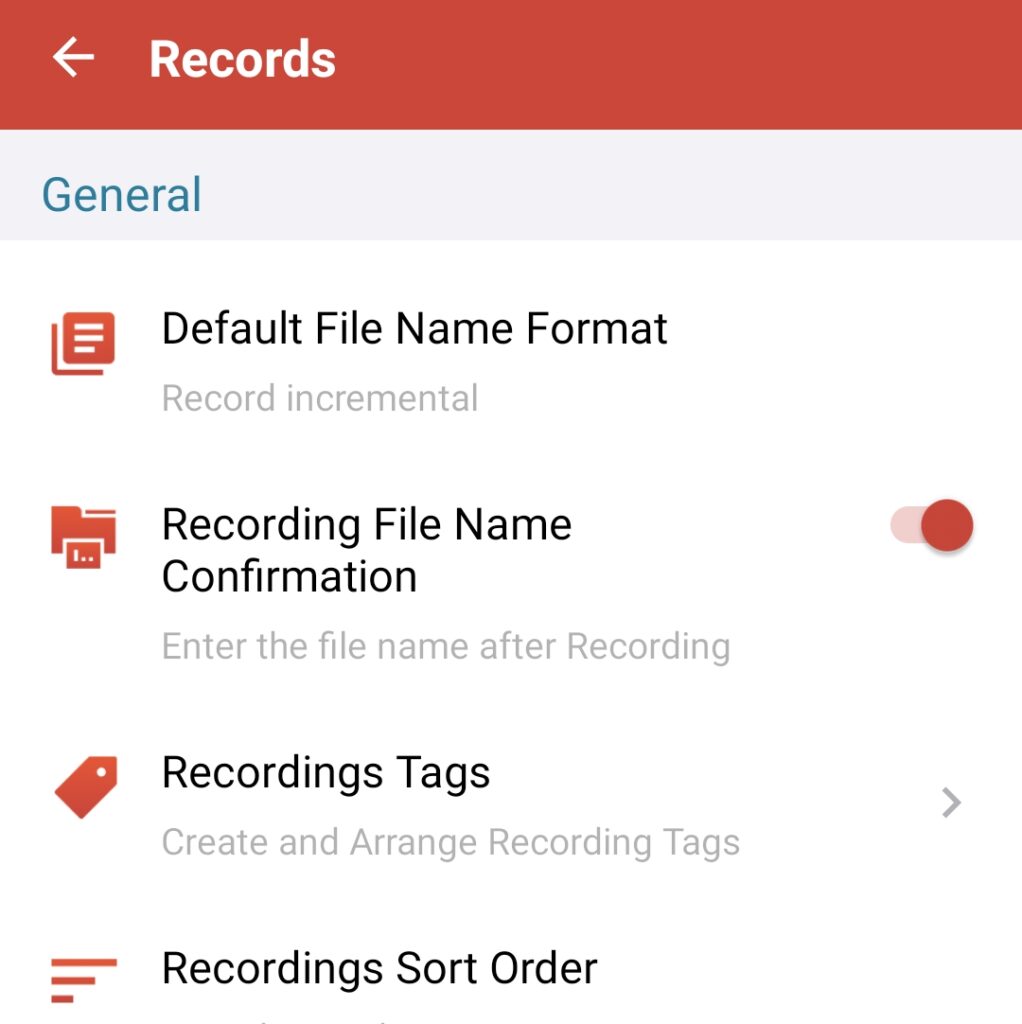
Can I save recordings in the External SD Card?
Yes, saving recordings to External SD card is supported. Please follow below steps :
Go to Settings.
Select Records Settings
Select Storage Path.
Select the Option SD Card.
Future recordings will be saved to the SD card.
Warning
Please note that due to System restrictions, when the SD card is chosen as the save location, Recording files will be lost if this app is uninstalled in the future.
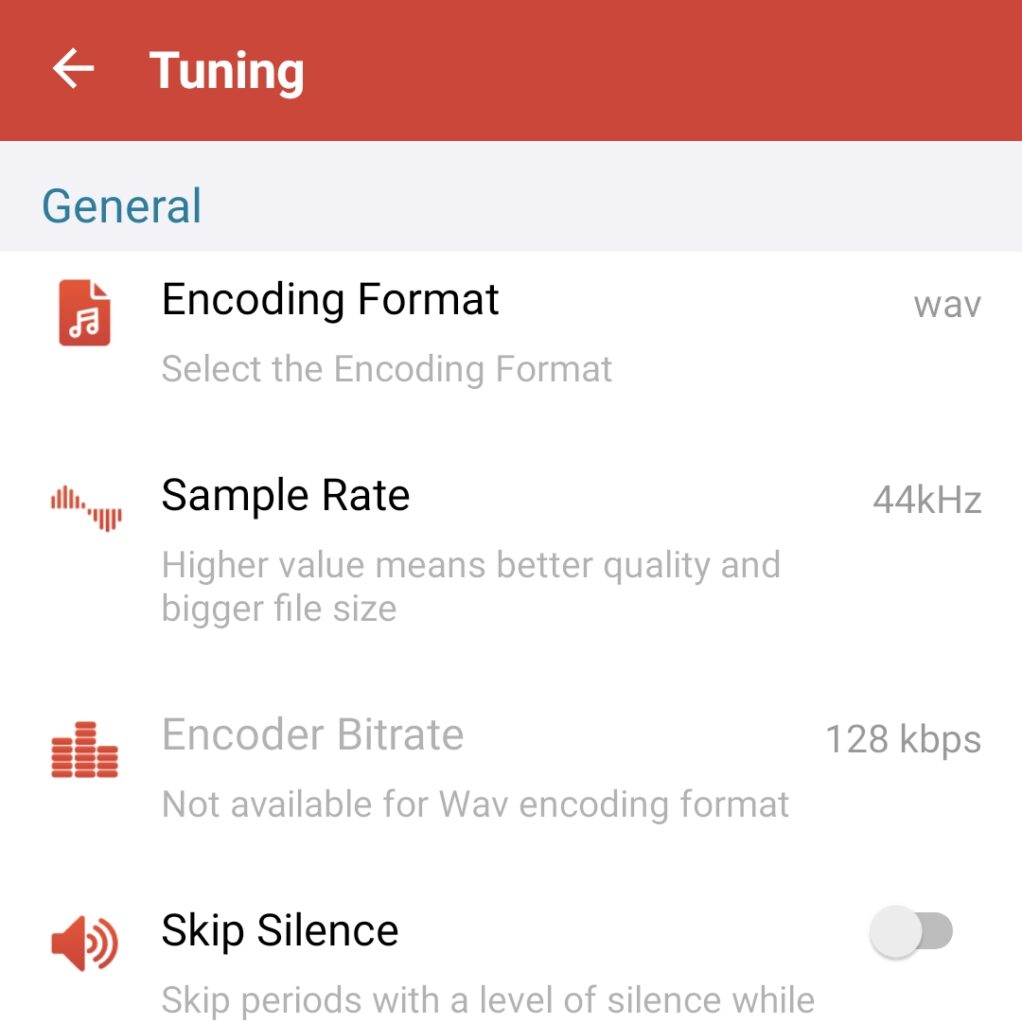
Is Bluetooth Recording Supported?
Yes, you can record from external Mic by Bluetooth. Make sure that <b>Bluetooth Connection Setting is On</b> inside the Tuning Settings screen. Also , please turn On Device Bluetooth.
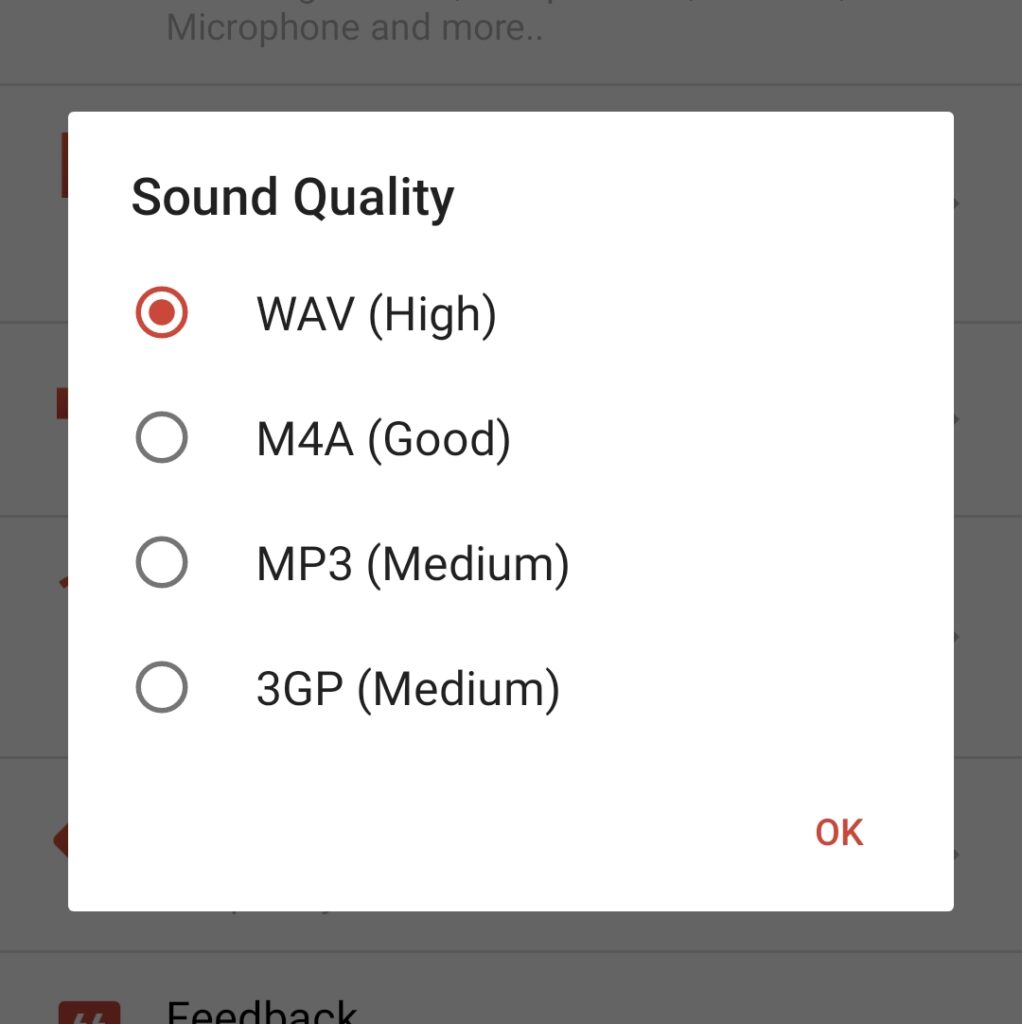
My Recording Size is very big, I cannot send using Email. Is there any option available?
Yes, Please use File Convert Feature to reduce size of the recording. Please follow the below steps.
Go to Recording List
Select the menu option of particular Recording
From the Options, select Convert File Format
Change Format to 3GP.
Click Convert
The converted recording will be of much smaller size and you would be able to send using email
Why Permission to Access Photos, media and other files is required?
Recording Files are stored in the Phone Storage. To Save the Files into the Phone, This Storage permission is required. Without this permission , the app will not be able to save recordings.
Go to Recording List
Select the menu option of particular Recording
From the Options, select Convert File Format
Change Format to 3GP.
Click Convert
The converted recording will be of much smaller size and you would be able to send using email
Can I Open my Recording with other Media Player App?
Yes, Please follow below steps.
Please go to Recording List Screen.
Select menu option ( 3 Dots on right) of a recording File .
Select Open With option
Choose the Other app to open this file.
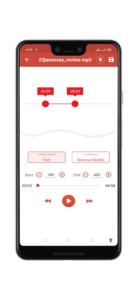
Some unwanted parts of recordings are recorded. Can I trim my recording?
Yes, Please follow the below steps.
Go to the recording List Screen.
Click Menu Option ( 3 Dots on right) of any recording file.
3. Select Edit option.
Edit Screen will Open
Toggle the Start and End toggles based on your requirement
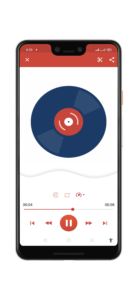
Listen to the selected part using the Play button.
Click the Save button on top Right to Save the Selected part.
Can I Open my Recording with other Media Player App?
Yes, Please follow below steps.
Please go to Recording List Screen.
Select menu option ( 3 Dots on right) of a recording File .
Select Open With option
Choose the Other app to open this file.
What permissions are required by app?
The App needs following permissions.
Mandatory Permissions
1. Storage Permission : Allow Voice Recorder to access photos , media and files on your device?
This permission is required to save recordings to your phone.
Microphone Permission : Allow Voice Recorder to record Audio ?
This permission is required to Record Audio.
Optional Permissions
Telephone : Allow Voice Recorder to make and manage phone calls?
This permission is required to pause Recordings during Calls.
This permission allows an app to show things on top of other Apps.
This permission is required to schedule recordings in background
How to delete recording?
There are two ways. Please find details :
Way One ( Single Delete )
1. Go to the Recording List Screen.
2. Go to the menu option ( 3 dots on the right) of the recording.
3. From the menu , select Delete
4. Confirm Yes.
Way Two ( Multi Delete)
1. Long press on a recording.
2. Recording will get selected with a tick mark showing on left.
3. Select other recordings.
4. Select the Delete button ( on the top right , second button from right) .
5. Confirm Yes.
I am facing some other issue not mentioned here. How to fix that?
Please contact us using the Feedback Option from the Settings Screen . We will be more than happy to look into and solve the issue.